
Pizza is one of the top foods people miss when they go gluten-free. I’ve been refining this pizza crust process for years, and now the result is so good that it has received national acclaim. You can hold it in your hand and it won’t crumble! Gluten-free pizza dough is very soft and sticky—without the elasticity of wheat flour dough—so it is patted into the pan rather than rolled or stretched. The dough adheres to the pan better when it is greased with shortening rather than cooking spray. You can use store-bought pizza sauce, but try mine— it is thicker so it won’t make the crust soggy. You can make it up to 1 week ahead.
Gluten-free pizza never tasted so good!
Pizza Sauce
(Makes 1 cup)
1 (8-ounce) can tomato sauce
1 ½ teaspoons dried Italian seasoning
½ teaspoon fennel seeds (optional)
¼ teaspoon garlic powder or 1 garlic clove, minced
1 teaspoon sugar
¼ teaspoon salt
Crust
(Makes a 12-inch pizza)
1 tablespoon active dry yeast
1 teaspoon sugar
3/4 cup warm (110°F) milk of choice
2/3 cup brown rice flour, plus more for sprinkling
1/4 cup potato starch
1/4 cup tapioca flour
1 teaspoon xanthan gum
1 teaspoon dried Italian seasoning
½ teaspoon salt
2 teaspoons olive oil
2 teaspoons cider vinegar
[1] Make the pizza sauce: In a small heavy saucepan, combine all of the sauce ingredients and simmer, uncovered and stirring occasionally, for 15 minutes. Set aside.
[2] Make the crust: Arrange oven racks in the bottom and middle positions of the oven. Preheat the oven to 400ºF. Grease (use shortening, not oil or cooking spray) a 12-inch nonstick (gray, not black) pizza pan. Dissolve the yeast and sugar in the warm milk for 5 minutes.
[3] In a food processor, blend all of the crust ingredients, including the yeast mixture, until the dough forms a ball. The dough will be very, very soft. (Or, blend in a medium bowl, using an electric mixer on low speed, until well blended.) Put the dough in the center of the pizza pan. Liberally sprinkle rice flour onto the dough; then press the dough into the pan with your hands, continuing to dust the dough with flour to prevent it from sticking to your hands. At first, it will seem as though there is not enough dough to cover the pan, but don’t worry―it is just the right amount. Make the edges thicker to contain the toppings, taking care to make the dough as smooth as possible. The smoother you can shape the dough, especially around the edges, the prettier the crust will be.
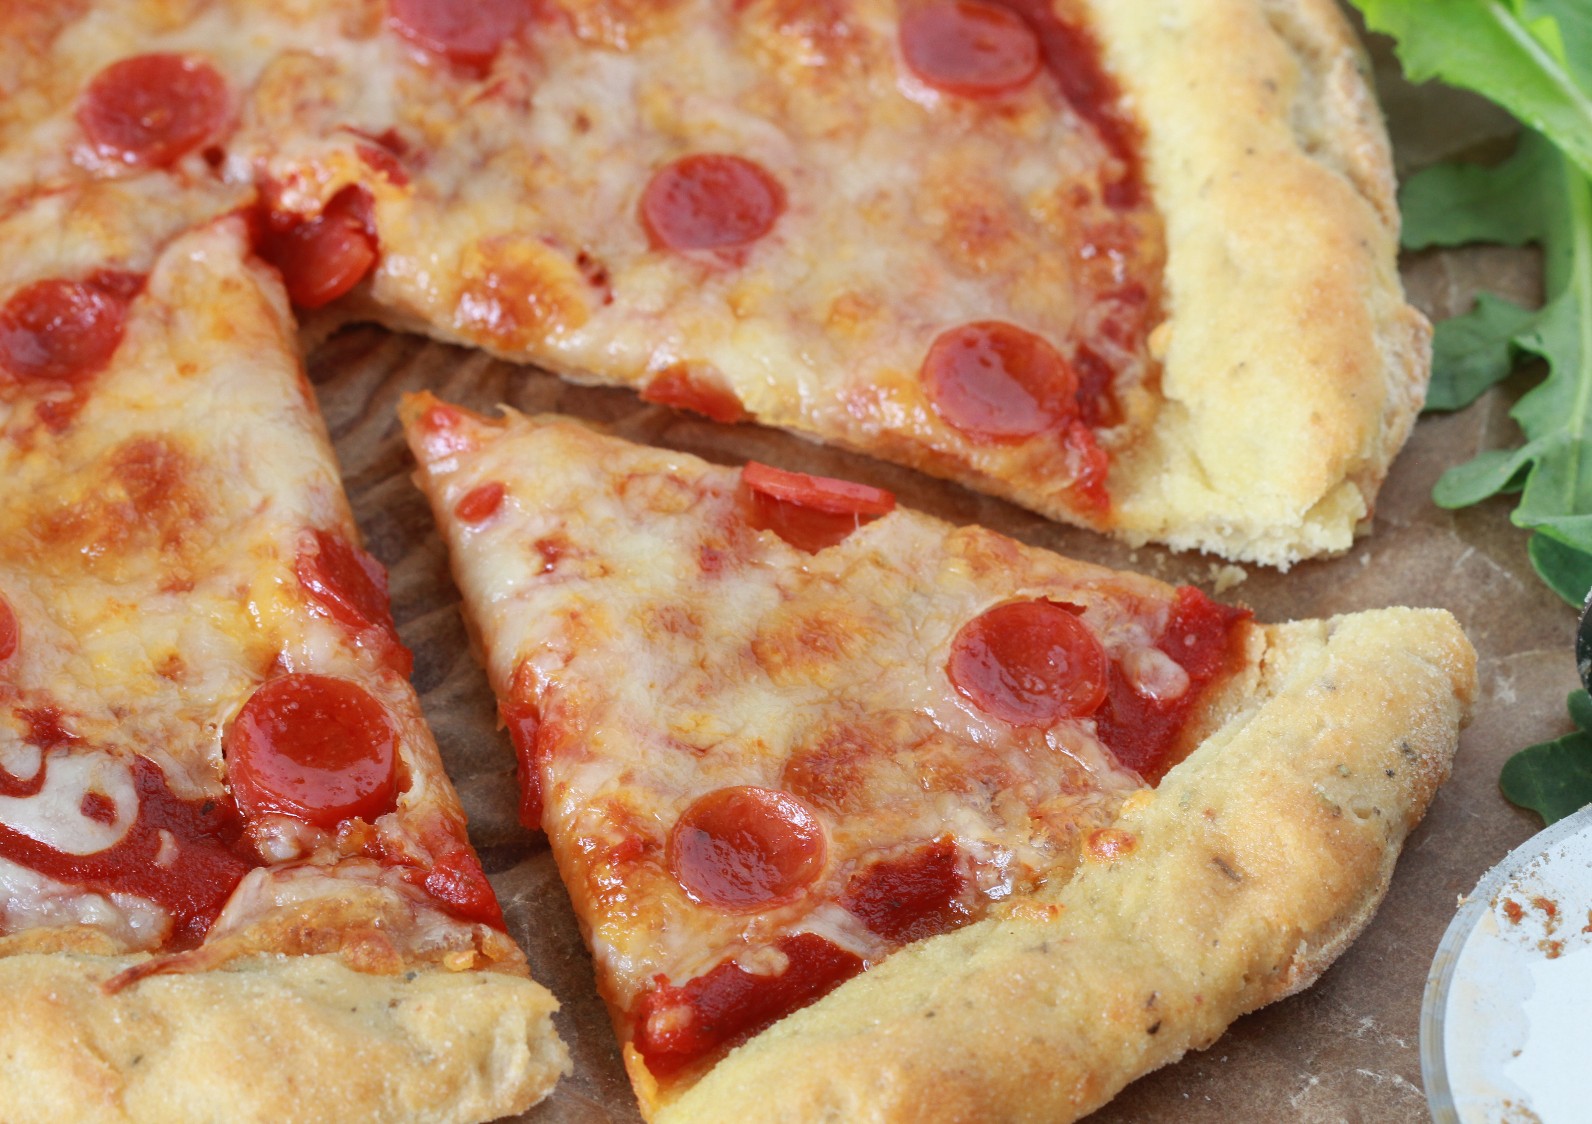
[4] Bake the pizza crust for 10 minutes on the bottom rack. Remove the pizza crust from the oven and brush the top with the pizza sauce. Sprinkle with your choice of toppings (I used cheese and pepperoni for the photo). Return the pizza to the oven and bake on the middle rack until the crust is nicely browned, 15 to 20 minutes. Remove the pizza from the oven and cool on a wire rack for 5 minutes. You may brush the crust edges with a little olive oil, if you like. Cut it into 6 slices and serve warm.
How to Shape Pizza Crust Dough
See a step-by-step video guide to making gluten-free pizza at www.CarolFenster.com. Click on Videos, then on Pizza 101.
Make-Ahead Pizza Dough
Wouldn’t it be nice to have a pizzeria in your own kitchen? Well, that may be asking a bit much. But you can have pizza often and with little effort, with a little advance preparation. Make the pizza dough ahead of time and freeze it, tightly covered, for up to 1 month. Thaw the dough overnight, tightly covered, in the refrigerator before shaping the dough on the pizza pan following Step 3. Or, make the dough on weekends, refrigerate, tightly covered, and bake it up to 3 days later. The only change required for make-ahead dough is to use cold rather than warm milk so that the yeast won’t activate until the pizza goes into the oven. While the chilled dough is easier to shape, it may take longer to rise because it is cold, so let the shaped crust sit on the countertop for 10 minutes to warm up a bit before baking.
Bake-Ahead Pizza Crust
Remember when we could buy a pizza crust at the grocery store—the ones that are already baked and just need toppings and a warm-up in the oven? Well, you can make your own. Prepare the pizza dough and shape it following Step 3. Then, proceed to Step 4 and bake on the bottom rack of a preheated oven for 10 minutes, but then―instead of adding the toppings―shift the pizza pan to the middle rack and bake just until the crust is a light golden brown and firm to the touch, 10 to 15 minutes. (The goal is to bake it just long enough to cook the dough but not brown it so much that it burns during the final baking.) Remove the pizza crust from the oven and cool it completely on a wire rack. Then wrap it tightly in aluminum foil and freeze for up to 1 month.
When you’re ready to bake the pizza, preheat the oven, remove the foil from the crust, and place it on a lightly greased 12-inch pizza pan. Let the crust thaw for about 10 minutes while you prepare the toppings. Add the toppings and bake the pizza on the middle rack just until the cheese is melted and lightly browned, 15 to 20 minutes (depending on toppings). Serve immediately.